I put off composting for years because every guide I found assumed I had a backyard and space for a big outdoor bin, neither of which I have in my apartment. It turns out that assumption is wrong, and I wish someone had told me sooner, because the method I eventually landed on takes up less counter space than my dish rack, and took less than a week to feel like a normal part of my routine rather than an extra chore.
Quick Answer
You can compost in a small apartment using a countertop bin for food scraps combined with a local drop-off program, a small indoor worm bin (vermicomposting), or a bokashi bin that ferments scraps in a sealed container. All three work without outdoor space and produce little to no odor when maintained correctly.
Option 1: Countertop bin + drop-off program
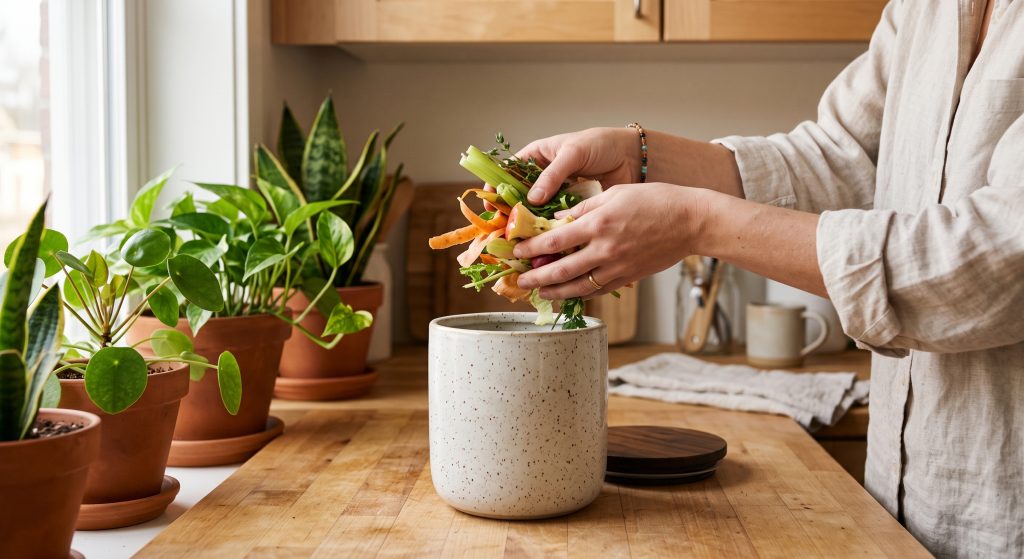
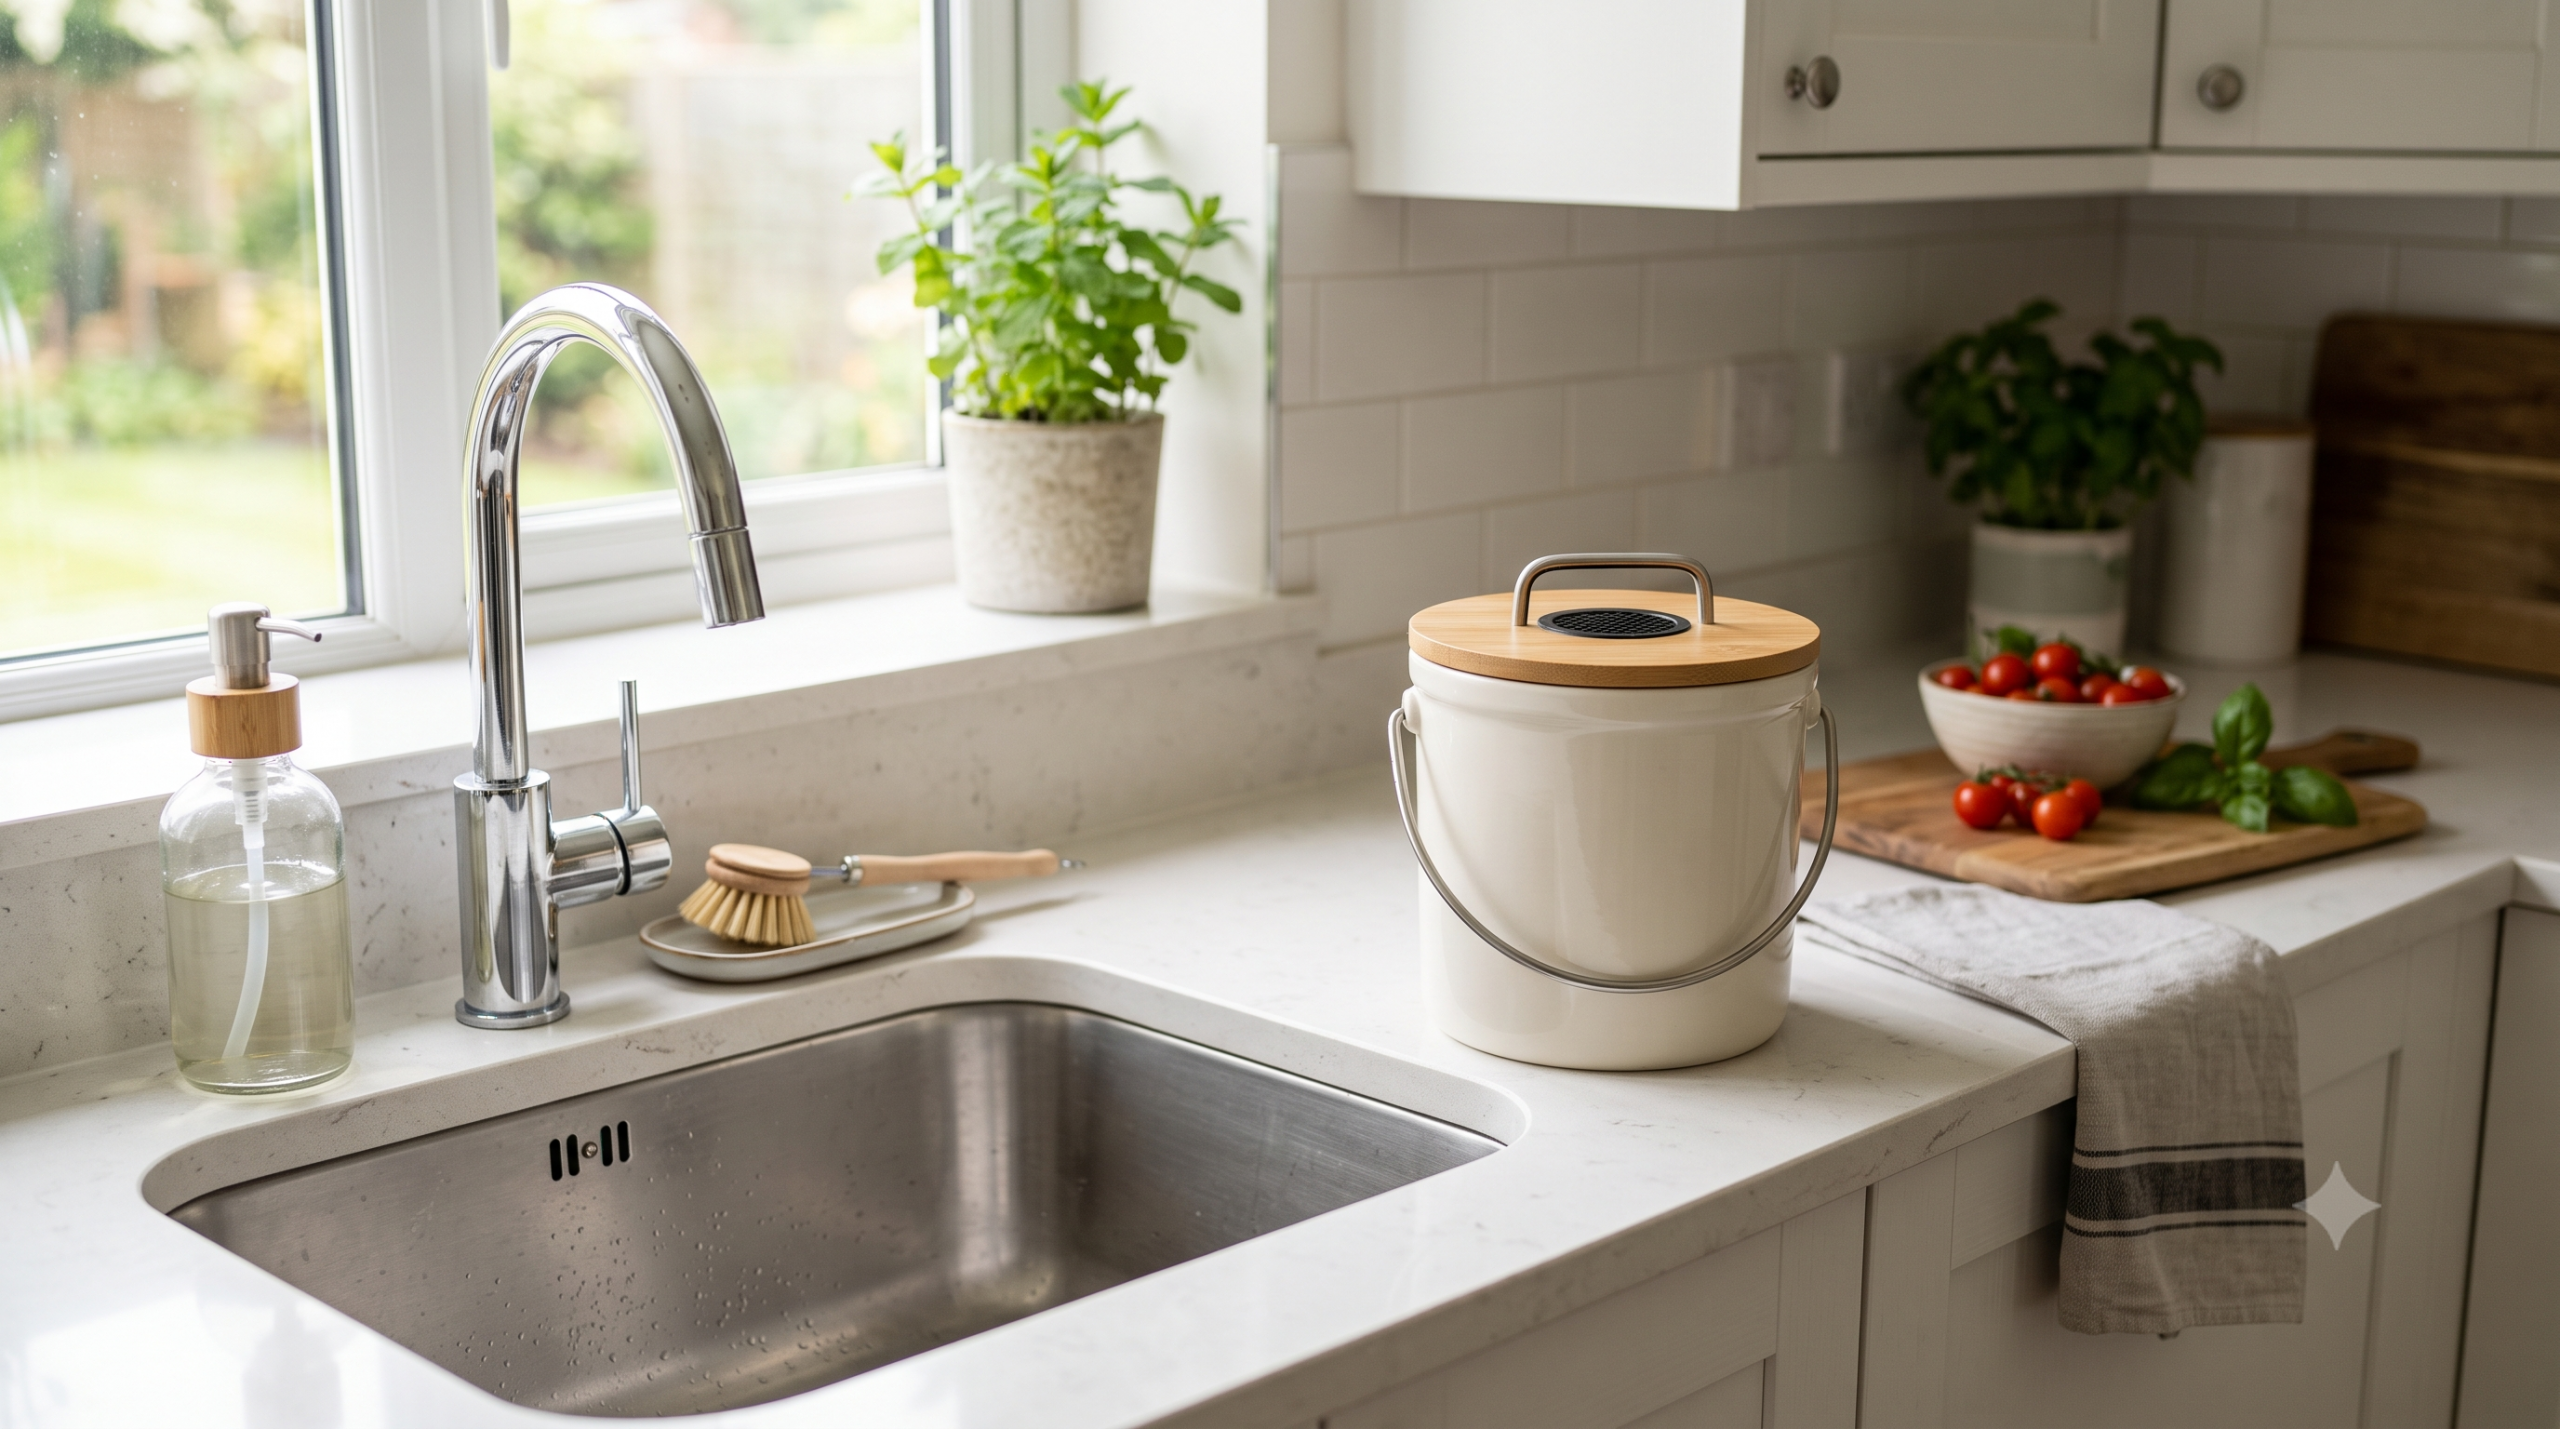
This is the method I use, and it’s the simplest: I keep a small sealed countertop bin for scraps, then drop it off weekly at my local farmers market on Saturday mornings. Many cities now offer this. Checking my city’s waste management website is how I found the closest drop-off point, just a few blocks from my apartment.
The bin itself has a charcoal filter in the lid that handles any odor between drop-offs, and I’ve never had an issue with smell even after a full week of scraps building up inside.
Option 2: Worm composting (vermicomposting)
A friend of mine went this route instead, a small worm bin that fits under her sink and turns food scraps into nutrient-rich compost using red wiggler worms. She swears it’s odorless when maintained properly, and it produces usable compost for her houseplants within a few months.
She did mention a learning curve around moisture balance early on: too wet and it can start to smell, too dry and the worms struggle. She got the hang of it after the first couple of months, but says she wishes someone had told her about the moisture balancing upfront rather than learning it by trial and error.
Option 3: Bokashi fermentation
I haven’t tried this one myself yet, but it’s on my list. A bokashi bin ferments food scraps (including meat and dairy, unlike the other two methods) in a sealed, airtight container using a bran inoculated with beneficial microbes. It takes about two weeks and produces a pre-compost that finishes breaking down once buried or added to soil.
What appeals to me about this option is that it handles food waste the other two methods can’t, like cooked leftovers with meat in them, which make up a decent chunk of what I actually throw away.
What can and can’t go in
- Yes: fruit and vegetable scraps, coffee grounds, eggshells, tea bags.
- Bokashi only: meat, dairy, and oily foods.
- Avoid in all methods: plastic-lined packaging, large bones, diseased plants.
What my weekly routine actually looks like
I keep the countertop bin next to my regular trash can so tossing scraps into the right place becomes automatic rather than a separate chore I have to remember. Every Saturday morning, I empty it into a larger container I keep on my balcony and take it to the farmers market drop-off on my way to get groceries anyway, so it doesn’t add an extra errand to my week.
The whole routine adds maybe two minutes to my Saturday, and I genuinely don’t think about it as effort anymore. It’s just part of how I take out the trash now.
Why I stuck with this instead of giving up
My first attempt, years ago, was an outdoor bin a friend gave me that I tried to keep on my apartment balcony. It attracted fruit flies almost immediately and I gave up on composting entirely for a couple of years after that experience.
What got me to try again was realizing the outdoor bin was simply the wrong method for an apartment, not that composting itself doesn’t work for small spaces. If your first attempt at something like this goes badly, I’d encourage figuring out whether the method was the problem before deciding the whole idea isn’t for you.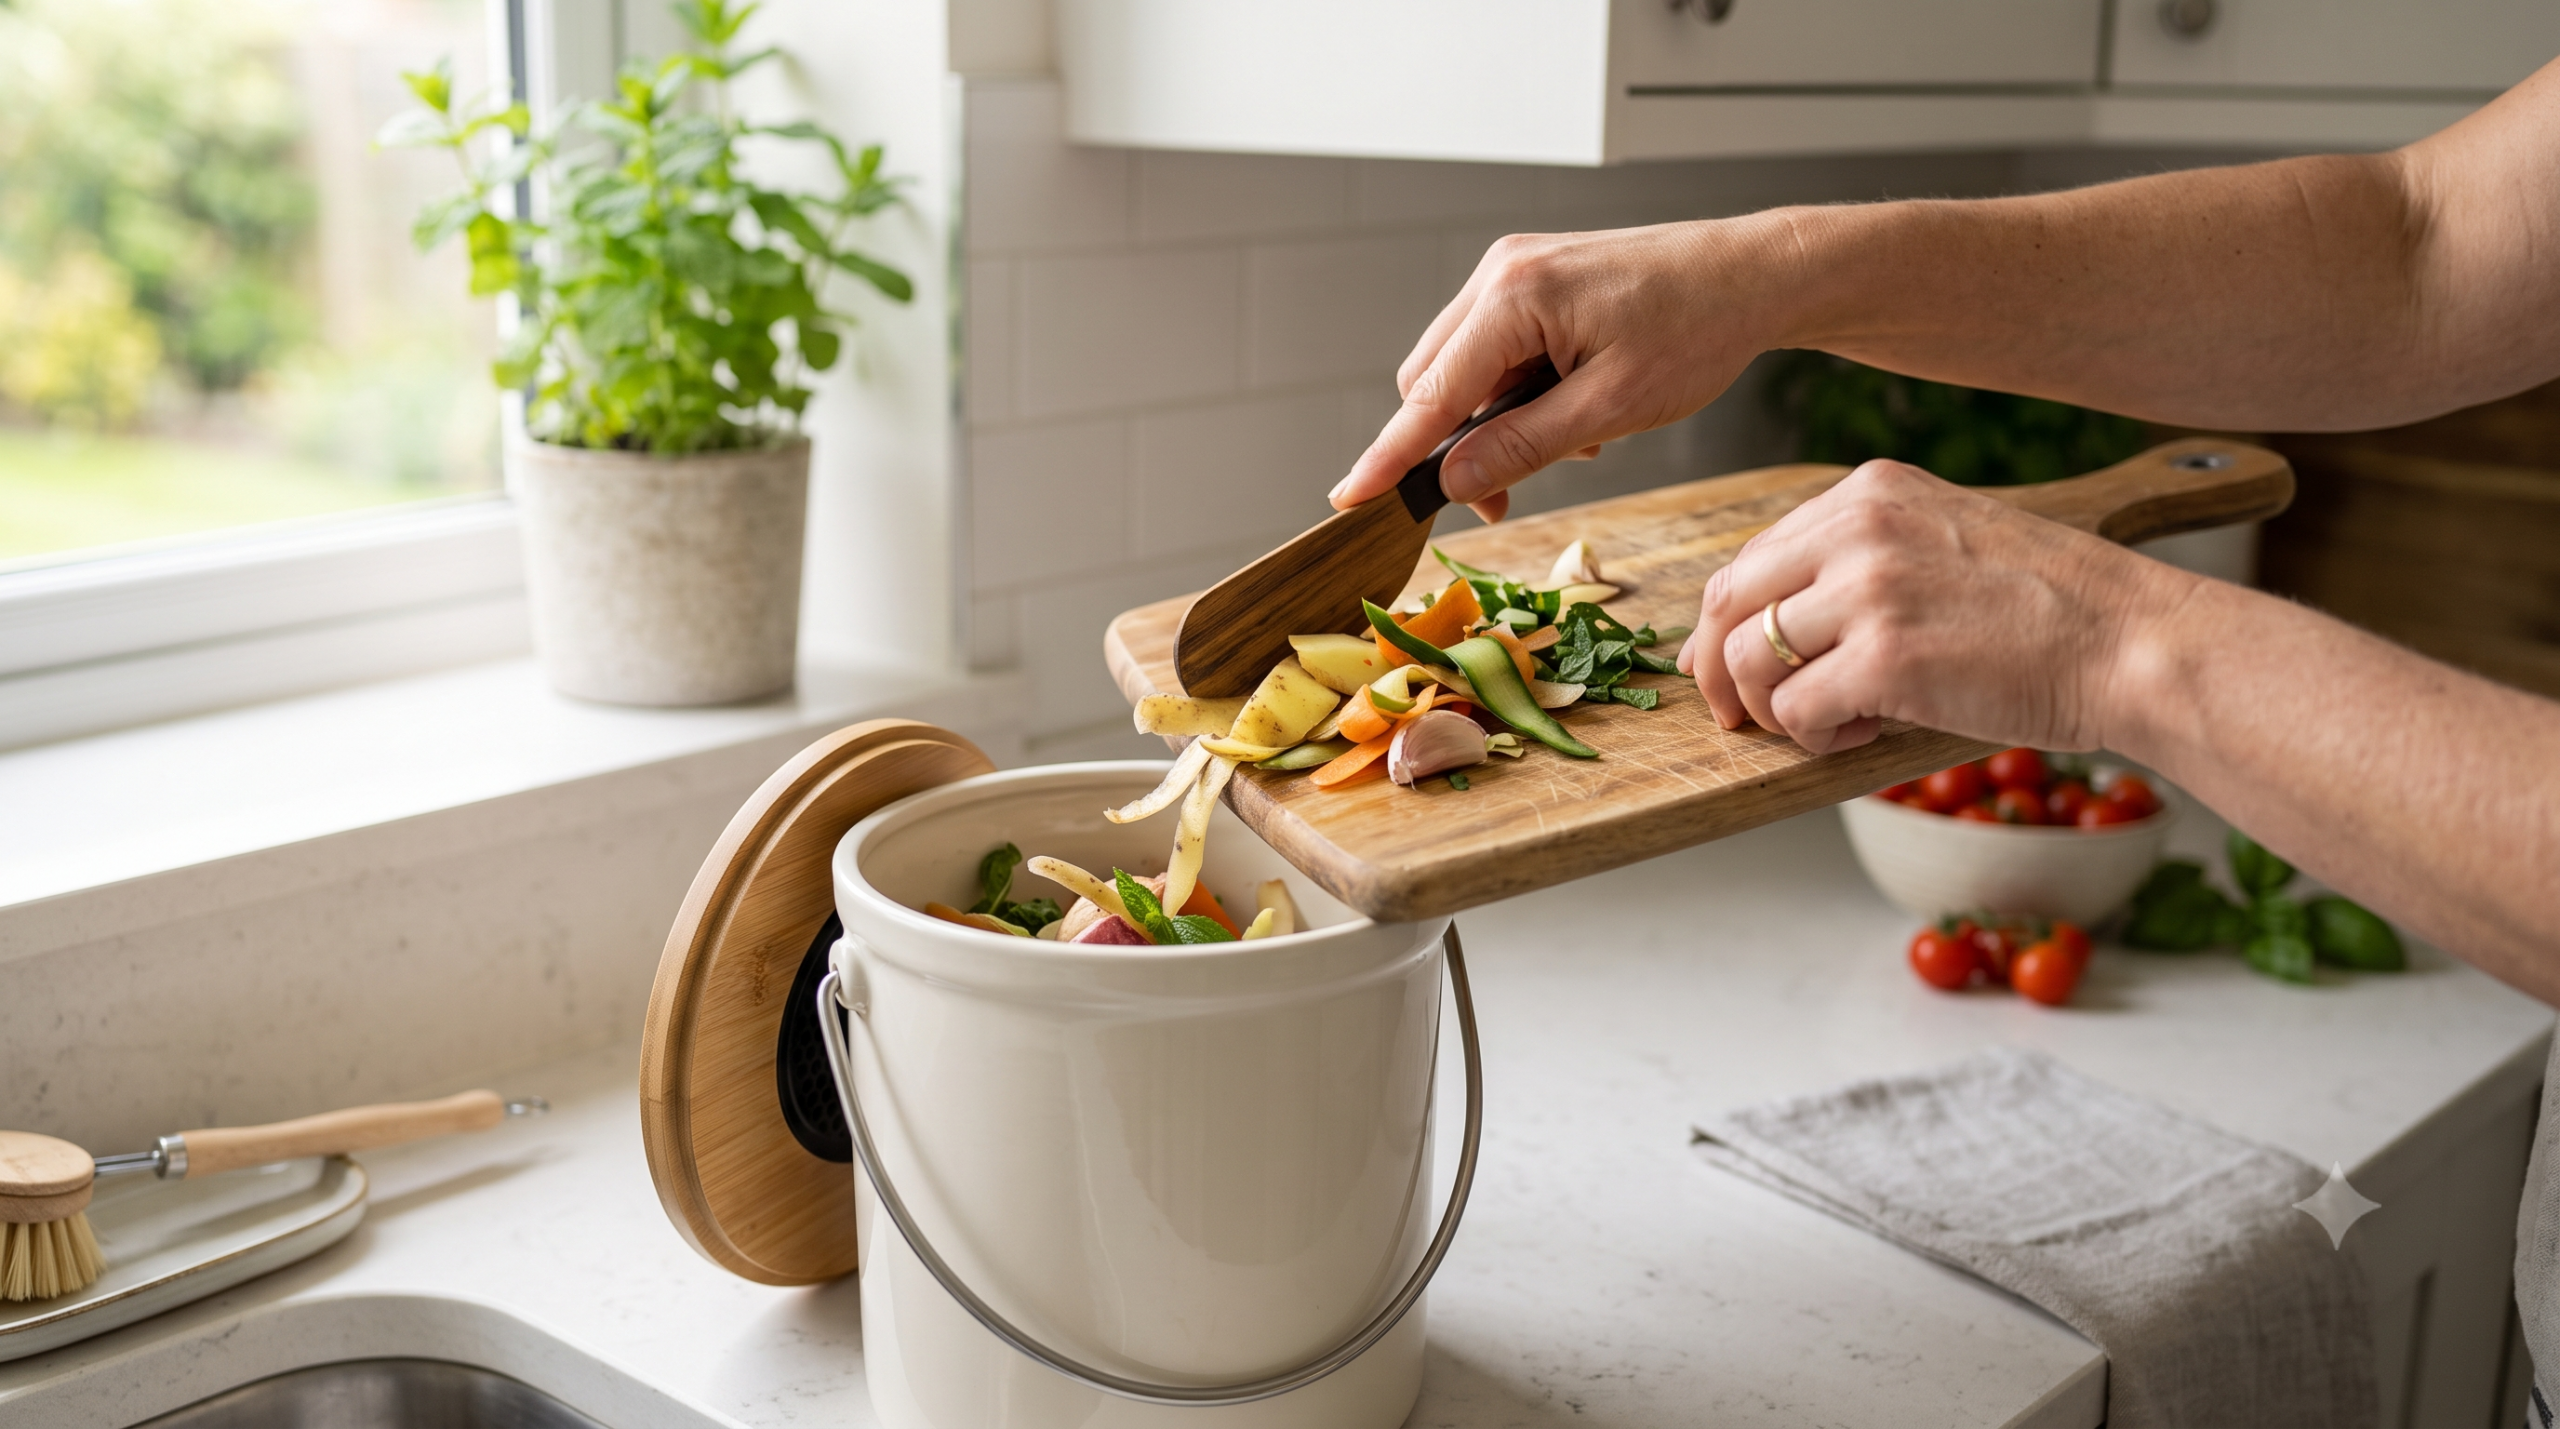
Troubleshooting the fruit fly problem specifically
Since that’s what derailed my first attempt, it’s worth addressing directly. Fruit flies are drawn to exposed, decomposing scraps sitting in open air, which is exactly what an uncovered outdoor bin gives them. A sealed countertop bin removes that exposure almost entirely, which is the single biggest reason my current setup hasn’t had the problem at all.
If you do get a few flies despite a sealed bin, emptying it a day or two sooner than usual and giving the bin itself a quick rinse usually clears it up within a few days.
How composting fits into my broader routine
Once composting became automatic, I noticed it nudged some of my other habits too. I started paying more attention to food waste generally, since watching a week’s worth of scraps pile up in the countertop bin is a pretty visceral reminder of how much gets thrown out.
It’s become something of a gateway habit for me, honestly. I didn’t set out to change my grocery shopping or meal planning when I started composting, but noticing the volume of scraps each week has quietly made me more careful about buying only what I’ll actually use. It reminds me a lot of what happened once I started paying closer attention to cutting water waste at home: one small habit made me notice waste I’d been ignoring everywhere else too.
What I’d tell someone in a tiny studio apartment
If counter space is genuinely tight, a bokashi bin might actually be the better starting point over the countertop-bin-plus-dropoff method I use, since it can sit in a cabinet rather than out on the counter, and it handles a wider range of scraps.
The core lesson either way is the same one that took me too long to learn: don’t assume a lack of space or yard rules out composting entirely. It just means the outdoor-bin method you’ve probably seen recommended everywhere isn’t the right fit, and something smaller-scale is worth trying instead.
The small win that keeps me motivated
Every few weeks I check roughly how full my regular trash bag is compared to before I started composting, and the difference is noticeable. A good chunk of what used to go straight to landfill now goes to the drop-off program instead.
It’s a small, visible signal that the habit is actually doing something, which has kept me consistent with it far longer than any of the more abstract environmental arguments ever did on their own.
Frequently Asked Questions
🌿 Will composting attract bugs or smell in my apartment?
Not if maintained properly. Sealed bins, regular emptying, and (for worm bins) proper moisture balance prevent both odor and pests. I was nervous about this at first and it’s genuinely been a non-issue since switching to the right method for my space.
🌿 What do I do with the finished compost if I don’t have a garden?
Use it for houseplants, or donate it to a community garden or a neighbor with an outdoor space. I’ve given mine to a neighbor a few times.
🌿 Which method is easiest for a total beginner?
The countertop bin plus a local drop-off program requires the least ongoing maintenance, which is exactly why it’s the one I stuck with.
🌿 What if my first attempt at composting goes badly?
Don’t assume composting itself isn’t for you. An outdoor bin was the wrong method for my apartment specifically, and switching approaches, not giving up, is what actually worked.
🌿 How long does it take to see finished compost?
With the drop-off method I don’t see the finished product myself since the city handles that stage, but my friend’s worm bin took about three months to produce usable compost for her plants.
Final NatGreen thoughts
A lack of backyard was never actually the problem. A sealed countertop bin and a weekly drop-off habit is genuinely all it takes to start. It pairs well with other small, no-renovation-needed habits, the same instinct behind switching to eco-friendly cleaning products that actually work.
Ready to try it? Find your city’s nearest compost drop-off point this week, and start keeping scraps in a sealed container on your counter. That’s the whole system.